Windows Subsystem for Linux (WSL) allows you to install a complete Linux terminal environment in minutes on your Windows machine, allowing you to develop cross-platform applications without leaving Windows.
To get started with WSL on windows follow these steps:
NOTE: These instructions will work on both Windows 10 and Windows 11.
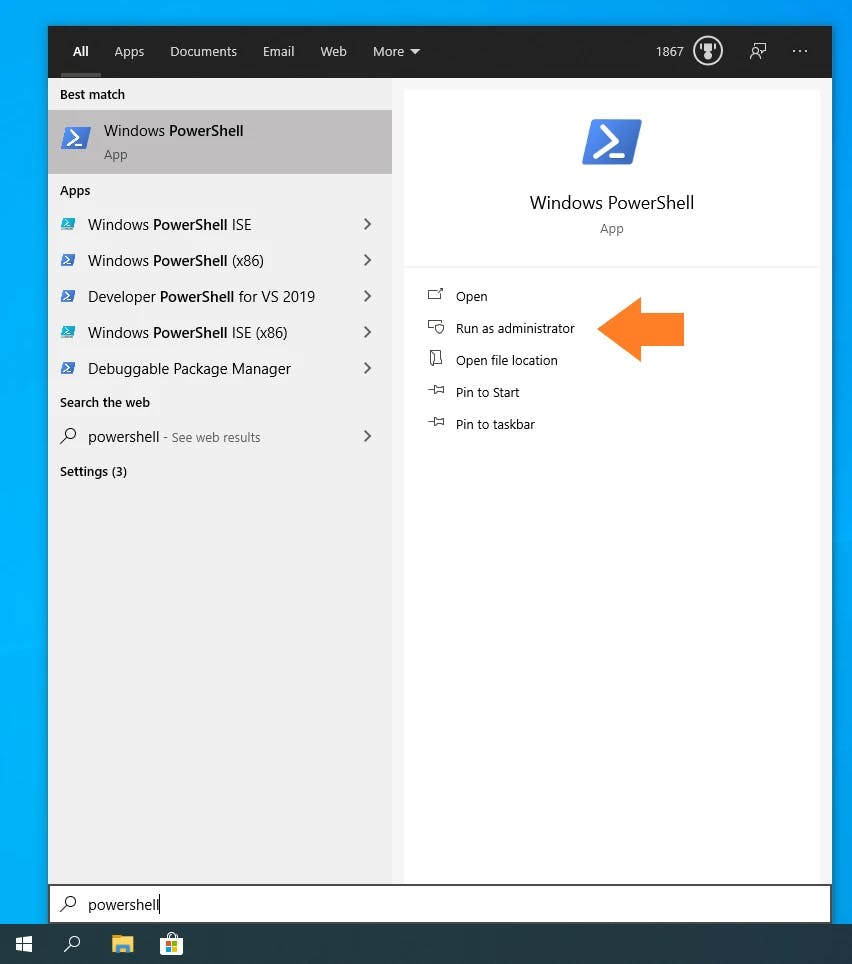
Installing WSL is now easier than ever. Search for Windows PowerShell in your Windows search bar, then select Run as administrator.

At the command prompt type
wsl --installwait for the process to complete.For WSL to be properly activated, you will now need to restart your computer.
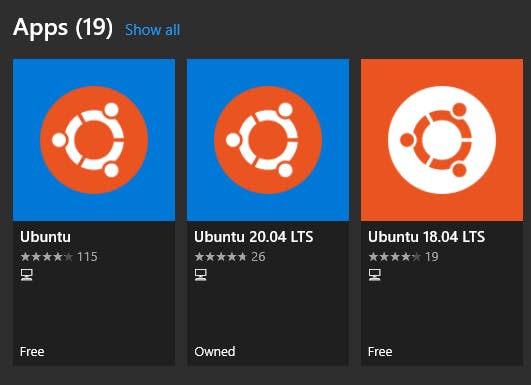
WSL supports a variety of Linux distributions, including the latest Ubuntu release, Ubuntu 20.04 LTS and Ubuntu 18.04 LTS. You can find them by opening the Microsoft Store app and searching for Ubuntu.

Choose the distribution you prefer and then click on Get as shown in the following screenshot:
 Ubuntu will then install on your machine.
NOTE: There is a single command that will install both WSL and Ubuntu at the same time. When opening PowerShell for the first time, simply modify the initial instruction to:
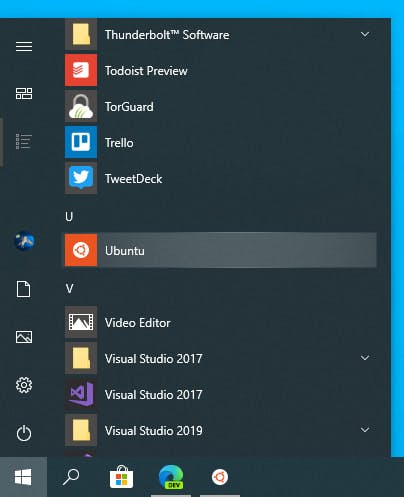
wsl --install -d ubuntu. This will install both WSL and Ubuntu! Don’t forget to restart your machine before continuing.Once installed, you can either launch the application directly from the store or search for Ubuntu in your Windows search bar.

Congratulations, you now have an Ubuntu terminal running on your Windows machine!
 Once Ubuntu has finished its initial setup you will need to create a username and password (this does not need to match your Windows user credentials).
Finally, it’s always good practice to install the latest updates with the following commands. a
sudo apt-get update && sudo apt-get upgrade
That’s it! Enjoy your WSL on Windows.
